# 版本组合
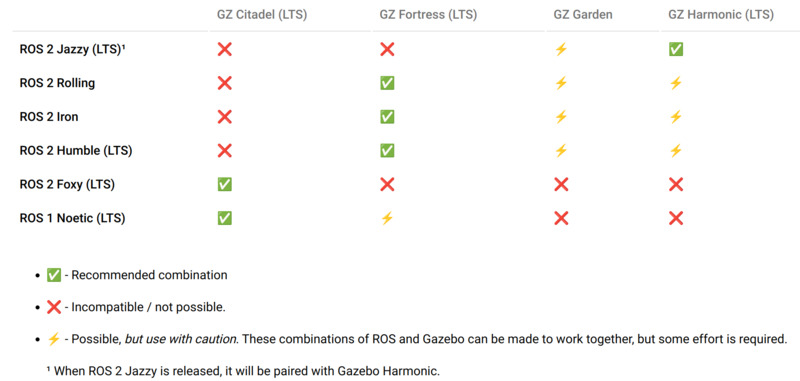
ROS 2 Jazzy 和 Gazebo Harmonic 能较好匹配, 而Jazzy只提供Ubuntu 24.04版本apt源. 所以想要安装比较新的版本 Jazzy + Harmonic + noble 是最好组合.

# 安装ardupilot
-
参考官网安装依赖 https://ardupilot.org/dev/docs/building-setup-linux.html#building-setup-linux`
1
2
3
4
5
6
7
8
sudo apt-get update sudo apt-get install git git clone --recurse-submodules https://github.com/your-github-userid/ardupilot cd ardupilot Tools/environment_install/install-prereqs-ubuntu.sh -y # Reload the path (log-out and log-in to make it permanent): . ~/.profile这个环境安装脚本在
~/.profile文件的最后加了几行, 可以把它们放到.bashrc中或者每次使用ardupilot之前source ~/.profile.此时, 需要的话, 已经可以用
waf编译ardupilot代码. https://github.com/ArduPilot/ardupilot/blob/master/BUILD.md -
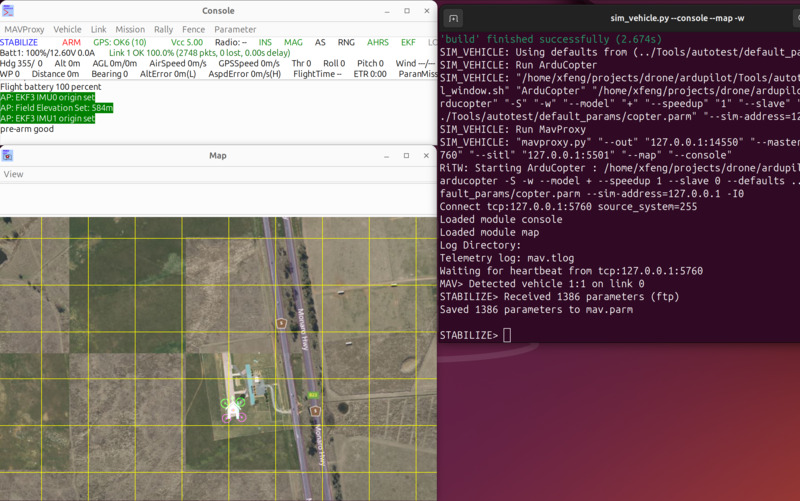
运行sitl. 参考 https://ardupilot.org/dev/docs/setting-up-sitl-on-linux.html
1
2
cd ardupilot/ArduCopter sim_vehicle.py --console --map -w
# 安装QGC
参考https://docs.qgroundcontrol.com/master/en/qgc-user-guide/getting_started/download_and_install.html.
-
关掉modemmanager, 安装依赖:
1
2
3
4
5
sudo usermod -a -G dialout $USER sudo apt-get remove modemmanager -y sudo apt install gstreamer1.0-plugins-bad gstreamer1.0-libav gstreamer1.0-gl -y sudo apt install libfuse2 -y sudo apt install libxcb-xinerama0 libxkbcommon-x11-0 libxcb-cursor0 -y -
下载QGC AppImage: https://d176tv9ibo4jno.cloudfront.net/latest/QGroundControl.AppImage
-
运行:
1
2
chmod +x ./QGroundControl.AppImage ./QGroundControl.AppImage (or double click)TODO: 把AppImage固定到侧边栏上
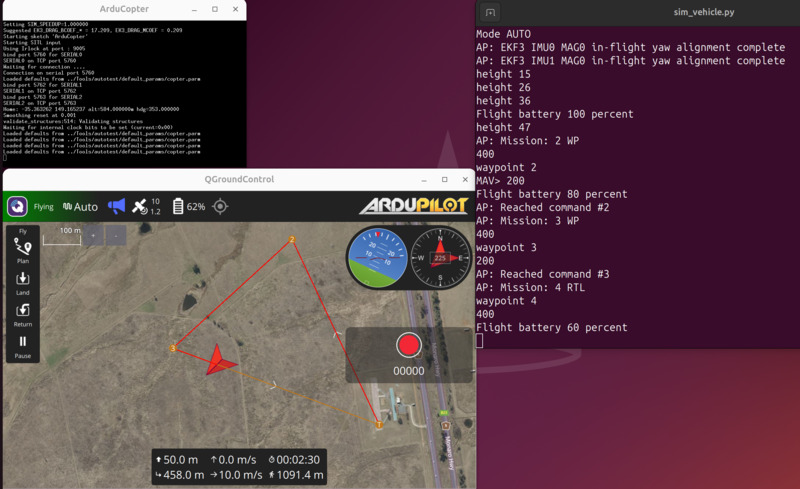
结合sitl: 打开另一个terminal 运行
sim_vehicle.py:1 2 3cd ardupilot/ArduCopter source ~/.profile sim_vehicle.pyQGC自动连上了ardupilot sitl. 可以在QGC上计划飞行,飞一下了.

# 安装Gazebo Harmonic
-
Gazebo安装, 参考: https://gazebosim.org/docs/harmonic/install_ubuntu
1 2sudo apt-get update sudo apt-get install lsb-release wget gnupg -
下载编译gazebo插件, 参考 https://github.com/ArduPilot/ardupilot_gazebo
1 2 3 4 5 6 7 8 9 10sudo apt update sudo apt install libgz-sim8-dev rapidjson-dev git clone https://github.com/ArduPilot/ardupilot_gazebo.git cd ardupilot_gazebo export GZ_VERSION=harmonic mkdir build && cd build cmake .. -DCMAKE_BUILD_TYPE=RelWithDebInfo make -j4根据自己的文件路径设置环境变量. 假设用的是bash:
1 2echo 'export GZ_SIM_SYSTEM_PLUGIN_PATH=$HOME/ardupilot_gazebo/build:${GZ_SIM_SYSTEM_PLUGIN_PATH}' >> ~/.bashrc echo 'export GZ_SIM_RESOURCE_PATH=$HOME/ardupilot_gazebo/models:$HOME/ardupilot_gazebo/worlds:${GZ_SIM_RESOURCE_PATH}' >> ~/.bashrc -
运行 Gazebo
1gz sim -v4 -r iris_runway.sdf这里出错了:
1Unable to create the rendering window: OGRE EXCEPTION(3:RenderingAPIException): currentGLContext was specified with no current GL context in GLXWindow::create at ./RenderSystems/GL3Plus/src/windowing/GLX/OgreGLXWindow.cpp (line 165)是wayland问题, 需要确保Gazebo用了Xwayland, 这里的办法是先把WAYLAND_DISPLAY环境变量删掉再执行命令:
1WAYLAND_DISPLAY= ; gz sim -v4 -r iris_runway.sdf如果有其他错误可参考这里: https://gazebosim.org/docs/fortress/troubleshooting
-
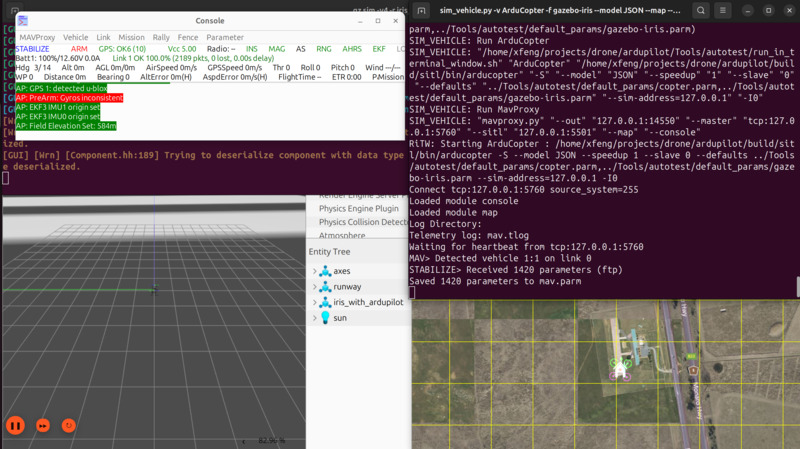
运行sitl. 和之前类似, 额外的两个参数: 要使用Gazebo进行ArduPilot仿真, 模型必须包含
gazebo-, 并使用JSON作为模型.1 2 3cd ardupilot/ArduCopter source ~/.profile sim_vehicle.py -v ArduCopter -f gazebo-iris --model JSON --map --console如下图左上角的信息栏出现绿色的字, 尤其是GPS信息,就说明gazebo和sitl连上了.

飞起来:
1 2 3STABILIZE> mode guided GUIDED> arm throttle GUIDED> takeoff 5(如果飞不起来可以看看这个视频 https://youtu.be/m7hPyJJmWmU?si=09cYLEpaaq52lHhC)